
Essential Eyelash Extension Mapping Guide for Lush Looks
Finding the perfect fit for each of your client's unique eye shapes is a game changer in the lash industry. This is where a detailed eyelash extension mapping guide becomes an invaluable tool.
In this blog, we'll explore the essentials of eyelash extension mapping and offer clear, step-by-step advice tailored for professionals in the field. From understanding different eye shapes to selecting the right type of lashes, we've got you covered. We'll also introduce Mega Lash Academy, a leader in providing top-quality eyelash extension products and supplies.
Whether you're new to lash extension or looking to refine your skills, this guide aims to empower you with knowledge and techniques to elevate your lash game. Continue reading to learn more about mastering the art of eyelash extension mapping and achieving stunning, flawless results for your clients.
What To Check Before You Start Lash Mapping
Assess Client's Natural Lashes
First, examine your client's natural lashes closely. Look for length, strength, and overall condition. This step determines what type of extensions will suit them best.
Understand Eye Shape
Every eye shape requires a unique mapping strategy. Identify whether your client has almond, round, hooded, or any other eye shape. This knowledge directs the lash design to effectively complement their natural beauty.
- Almond-shaped eyes focus on creating a balanced look. Gradually increase lash length towards the center, then decrease slightly at the outer corners.
- Round eyes benefit from lashes that are longer at the outer edges. This technique helps to elongate the eye shape, offering a subtle cat-eye effect.
- Hooded eyes shine with a mix of lengths. Start shorter at the inner corners. Build intensity towards the middle and outer edges, avoiding heavy lashes that can weigh down the lid.
- Monolid eyes require a strategic approach to opening and widening their appearance. Use medium lengths across the eye but add slight length variations to create depth.
- Deep-set eyes allow for more dramatic lengths. Since these eyes are set deeper into the skull, longer lashes can be used without overwhelming the look.
- Downturned eyes, focus on lifting the outer corners with longer lashes. This counters the downward angle, creating an uplifting illusion.
Check for Sensitivities
Before proceeding with an eyelash extension mapping guide, ask about any skin sensitivities or allergies. It's important to ensure the safety and comfort of your client throughout the lash application process.
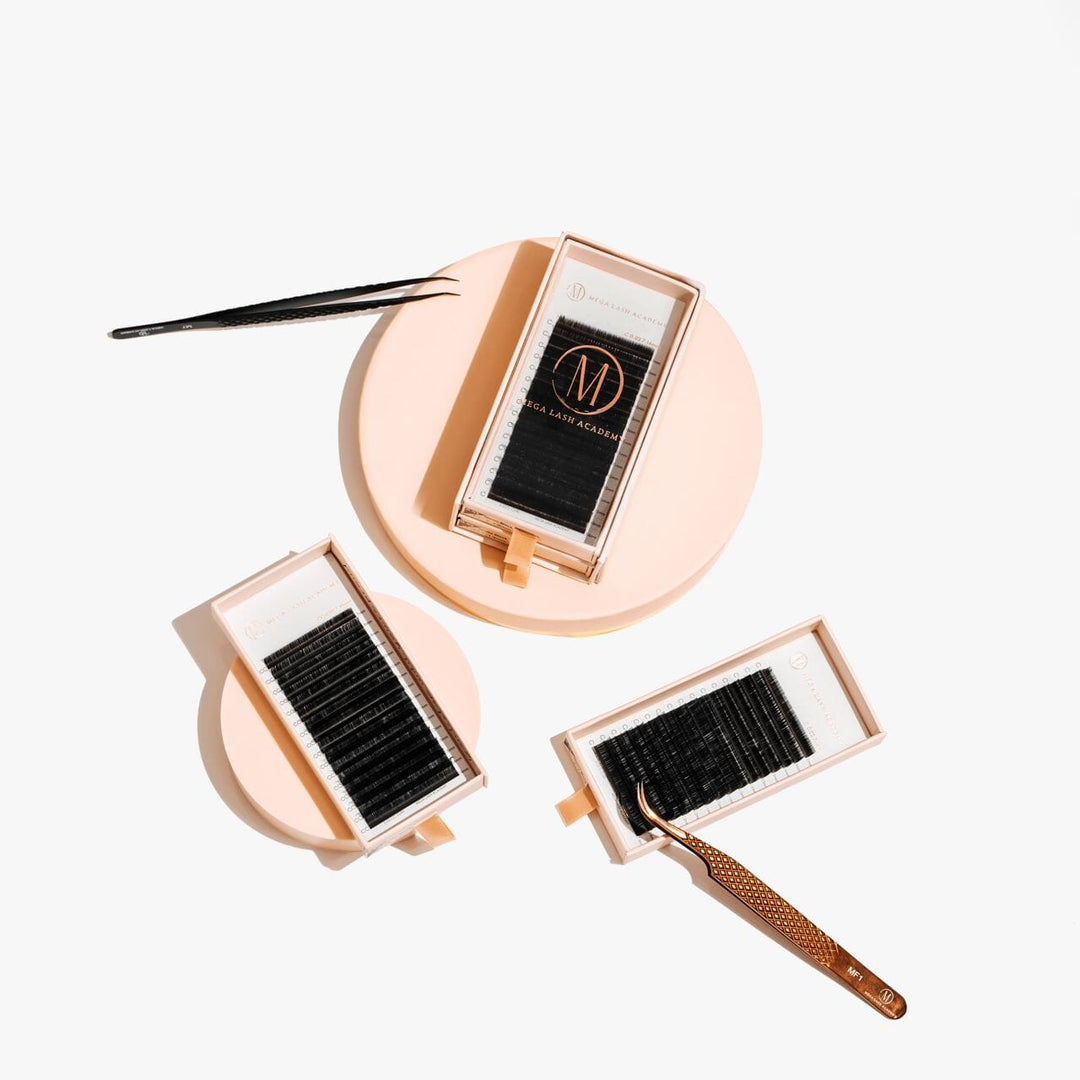
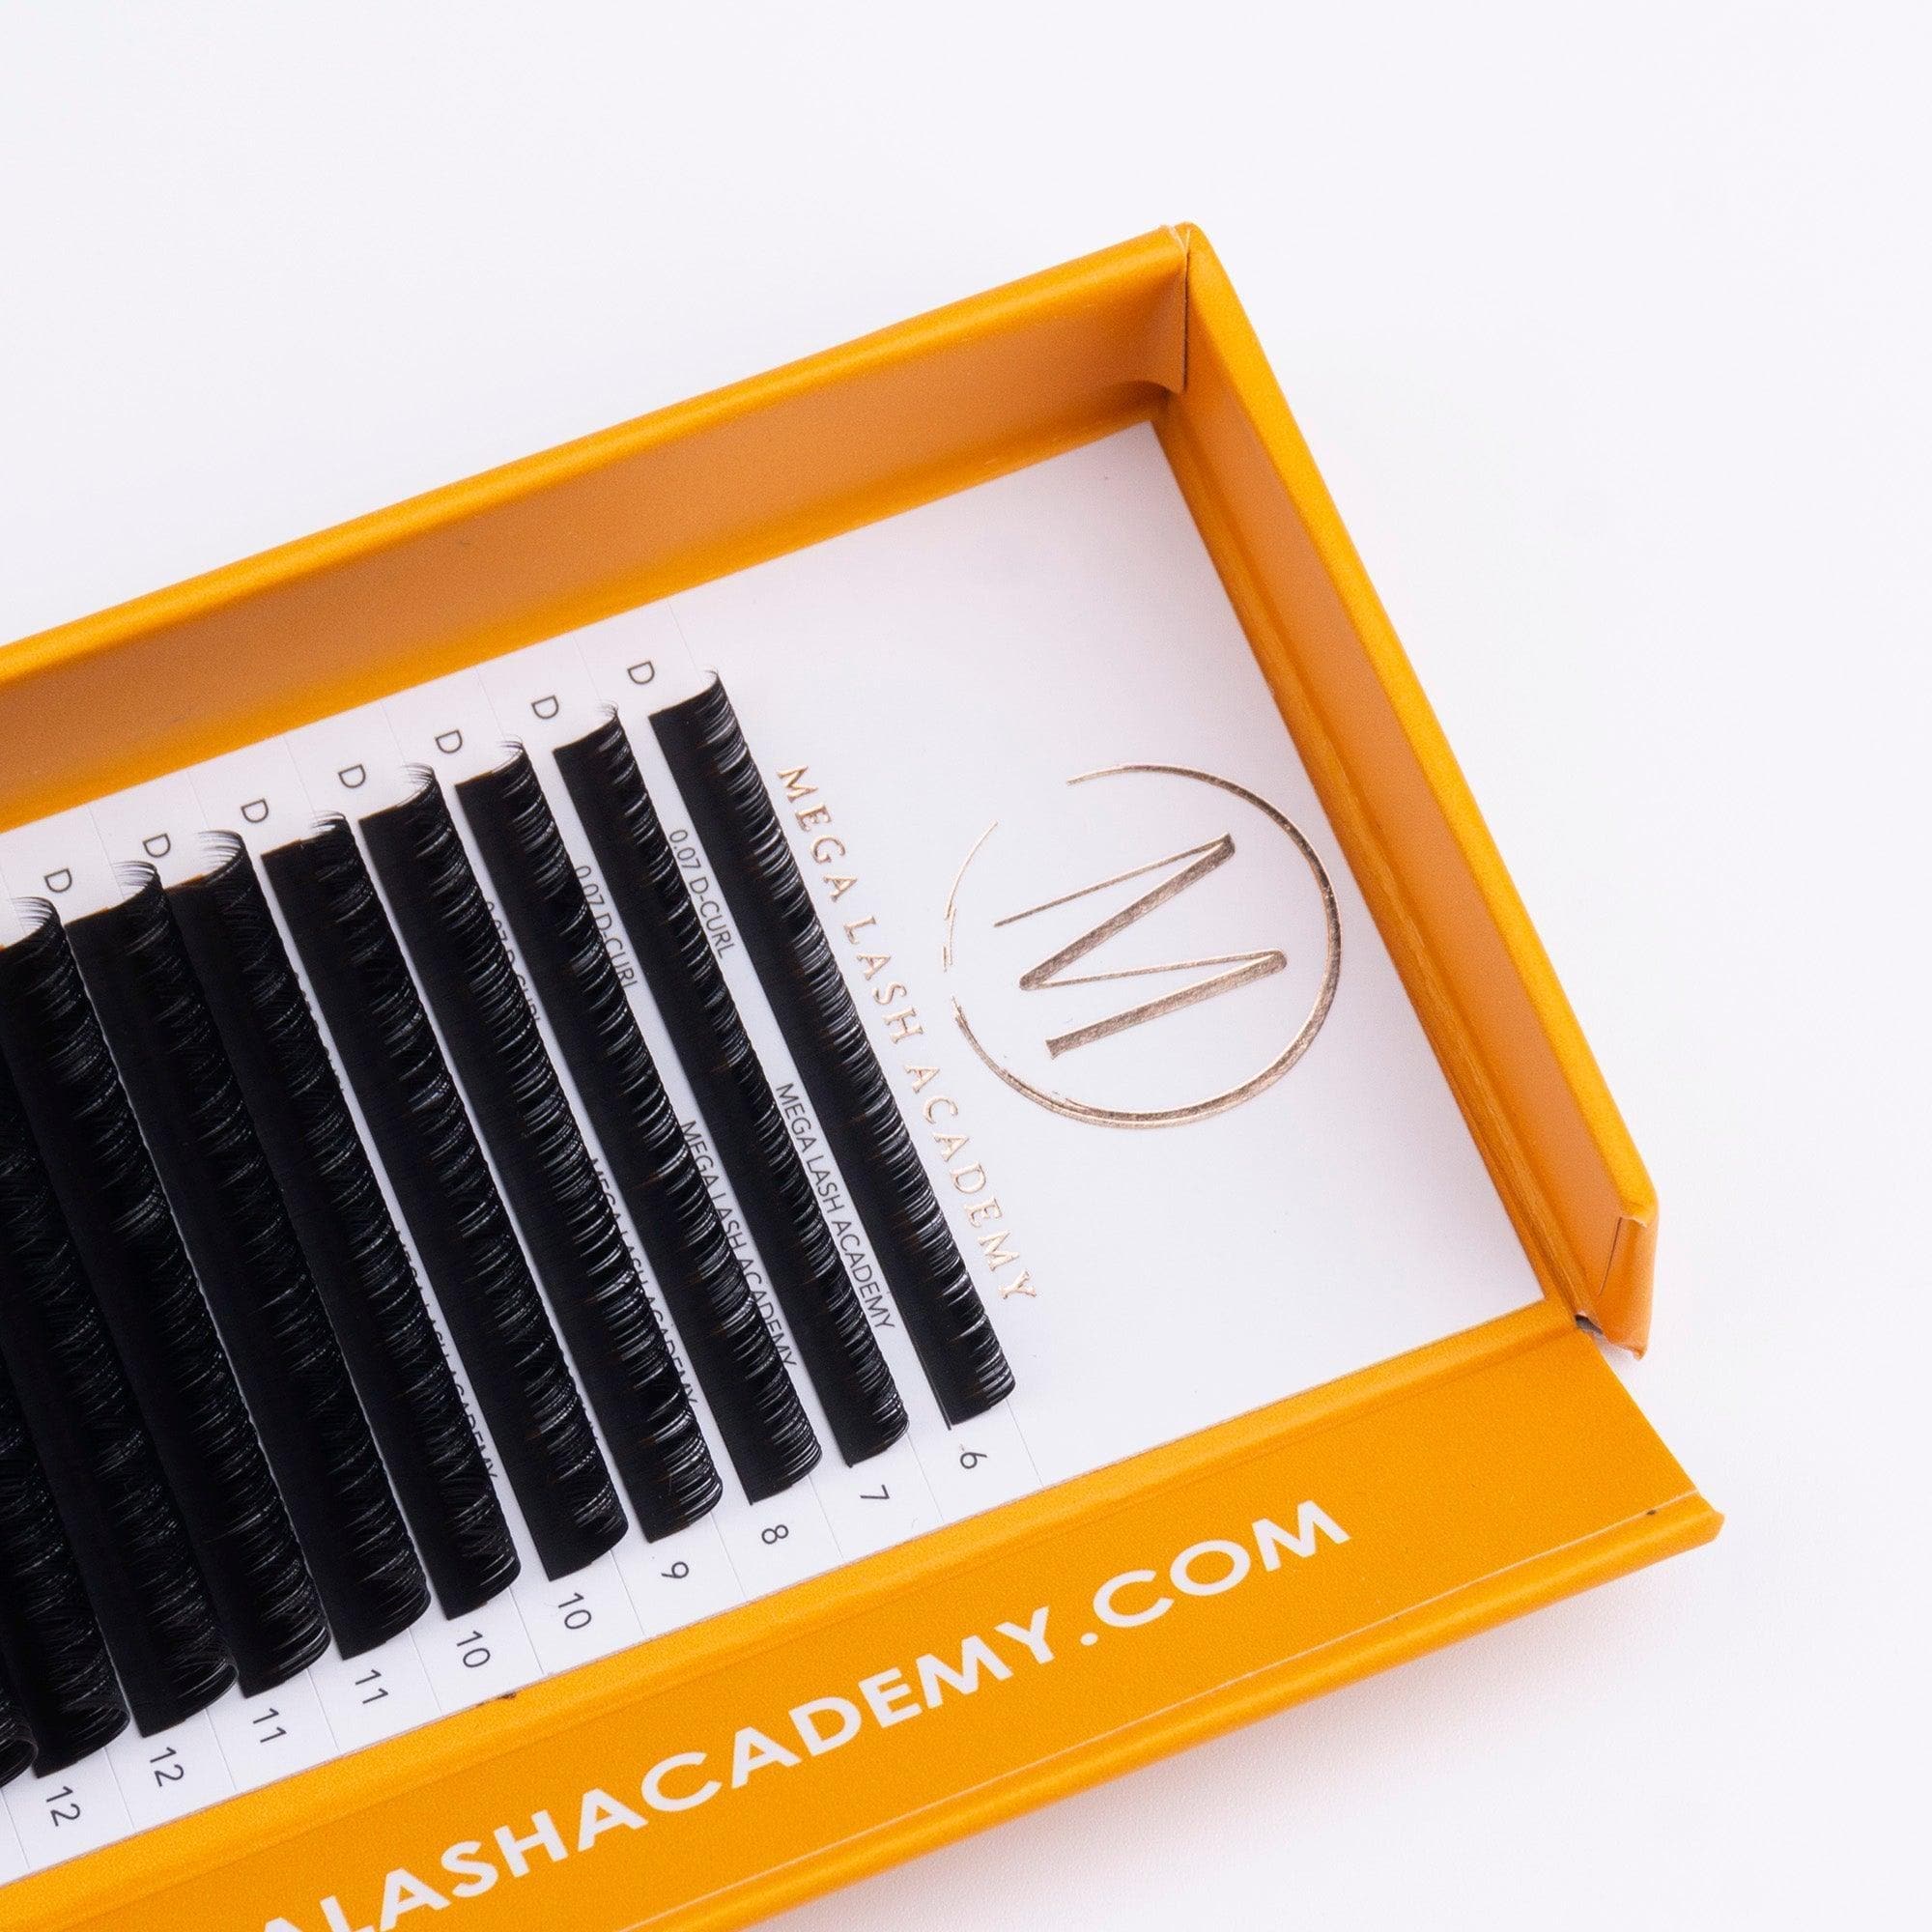
Select Suitable Lash Types
Now, choose the right lash types based on the initial assessment. Consider the thickness, curl type, and length that best enhance the client's eyes.
Prepare Your Workspace
Ensure your workspace is clean, organized, and ready. Having all tools and materials within reach streamlines the application process.
Discuss Desired Look
Have a brief conversation with your client about the look they aspire to achieve. This discussion helps in aligning your lash mapping with their expectations.
Plan Lash Mapping
With all the information gathered, plan your lash mapping. This blueprint is pivotal for achieving a tailored look that enhances the client's natural beauty.
Eyelash Extension Mapping Guide: Step-by-Step
Mapping eyelash extensions is a detailed process that transforms the overall look of the eyes by enhancing their natural beauty. Let's dive into the key steps involved in a good eyelash extension mapping guide.
Step 1: Assess Eye Shape and Natural Lash Condition
Start by closely observing your client's eye shape and the natural lashes. This initial step guides the entire mapping process, ensuring the extension style complements their natural features perfectly.
Step 2: Choose the Right Lash Type
Selecting the appropriate type, length, and curl of lashes is critical. Factor in the client's natural lash strength and desired final look. This choice directly impacts the comfort and satisfaction of your client.
Step 3: Design the Lash Map
Create a detailed plan on paper or a lash map sticker pad. Sketch out where each lash length and curl will go, according to the eye shape. This map acts as your blueprint throughout the application process.
Step 4: Apply Lash Pads and Prepare Lashes
Place protective lash pads under the client's eyes. Then, gently cleanse the natural lashes to remove oils and residue. This preparation ensures the extensions will adhere properly.
Step 5: Begin Application at the Outer Corners
Starting at the outer corner, apply extensions using the lash map as a guide. This approach helps in achieving the desired shape and volume, gradually moving toward the inner corner.
Step 6: Work In Sections
Divide the lash line into sections. Apply lashes section by section, allowing for precise control over the look. This method helps in maintaining consistency and symmetry across both eyes.
Step 7: Adjust Lengths for Natural Look
Vary lash lengths subtly across the eye. This variation mimics the natural lash growth pattern, creating a seamless and attractive finish.
Step 8: Ensure Comfort and Security
Throughout the process, regularly check in with your client for comfort. Make sure each extension is securely attached, avoiding any irritation or discomfort.
Step 9: Final Inspection and Adjustments
After completing the application, conduct a thorough inspection. Make any necessary adjustments to achieve the perfect balance and symmetry. This final step ensures the client leaves with flawless, beautifully enhanced lashes.
Why Choose Mega Lash Academy For Your Products?
Eyelash extension mapping becomes easier, and results are more flawless when using the right products, a standard Mega Lash Academy proudly upholds. Our shop specializes in providing top-notch eyelash extension products and supplies.
Tailored for professionals, our product range includes everything needed for precise lash mapping and application. From high-quality lashes to precision tools, Mega Lash Academy is dedicated to supporting lash artists in achieving exceptional results with every application, all thanks to our eyelash extension mapping guide.