
How to Avoid Lash Stickies
Always isolate a single natural lash completely before placing an extension, and hold it in place for a second to let the glue set. Use a minimal amount of adhesive, and check your work with a lash mirror every few minutes so you can gently separate any stuck lashes before they fully dry. Finally, map out your set by jumping from eye to eye or working in different sections so nearby lashes have time to dry before you place the next extension.
If you’re a lash artist, whether new to the game or seasoned, it’s likely you’ve encountered the dreaded stickies during a lash set. You know, when two or more lash extensions accidentally glue together? It happens to the best of us. But with a few smart adjustments to your technique, you can dramatically reduce this all-too-common mistake.
We sat down with Jessica, our incredible lash educator based in Brisbane, Australia. With years of experience as a licensed aesthetician and lash expert, Jessica knows her way around a lash set. Below, she breaks down three key techniques to help you avoid lash extensions gluing together, so your work stays clean, comfortable, and flawless.
What Are “Stickies” and Why Do They Matter?
Before we dive into Jessica's tips, let’s clear up exactly what we mean by “stickies.”
Stickies are when lash extensions get glued together, either an extension sticks to another extension or it bonds with a neighboring natural lash. The result? A clumpy, uneven lash line can lead to discomfort, premature lash shedding, and even long-term lash damage.
This usually happens when:
-
Too much adhesive is used
-
The lash isn’t properly isolated
-
The adhesive hasn’t fully cured before moving on
Avoiding stickies is crucial not only for creating a beautiful, symmetrical lash set but also for maintaining the health of your client’s natural lashes. So let’s get into how to prevent them.
Tip #1: Alternate Between Eyes During Application
One of the simplest (yet most overlooked) tricks is to alternate back and forth between the eyes as you work.
Why it works: Giving each lash a few extra seconds to dry before placing the next one helps prevent the lashes from sticking to each other. By switching eyes after each placement, you allow the adhesive time to cure just enough so it won’t transfer or cause neighboring lashes to fuse.
Think of it like this:
-
Isolate a lash on the right eye.
-
Place the extension.
-
Move to the left eye.
-
Isolate, place.
-
Return to the right eye.
This back-and-forth rhythm not only improves your efficiency but also significantly reduces the likelihood of sticky notes forming.
Bonus tip: Use a lash adhesive that works with your speed and environment. If you’re quick with your placements, go for a fast-drying glue. If you need more time to perfect each lash, opt for a medium-dry adhesive. Always match your glue to your technique.
Tip #2: Keep Your Isolation Tight, And Hold It Longer
Lash isolation is everything.
When a lash isn’t properly isolated, or you release your tweezers too soon, you risk lashes fusing together before the adhesive sets. That’s how stickies sneak in.
Jessica recommends holding your isolation tweezer in place a little longer than you think you need to. Give the adhesive just enough time to begin curing before letting go. This ensures the extension bonds only with the intended natural lash and not with a neighbor.
It’s tempting to move fast, especially during a full set. But even pausing for a second or two longer after placement can make a huge difference in avoiding stickies.
Here’s the golden rule: Isolate. Place. Pause. Then release.
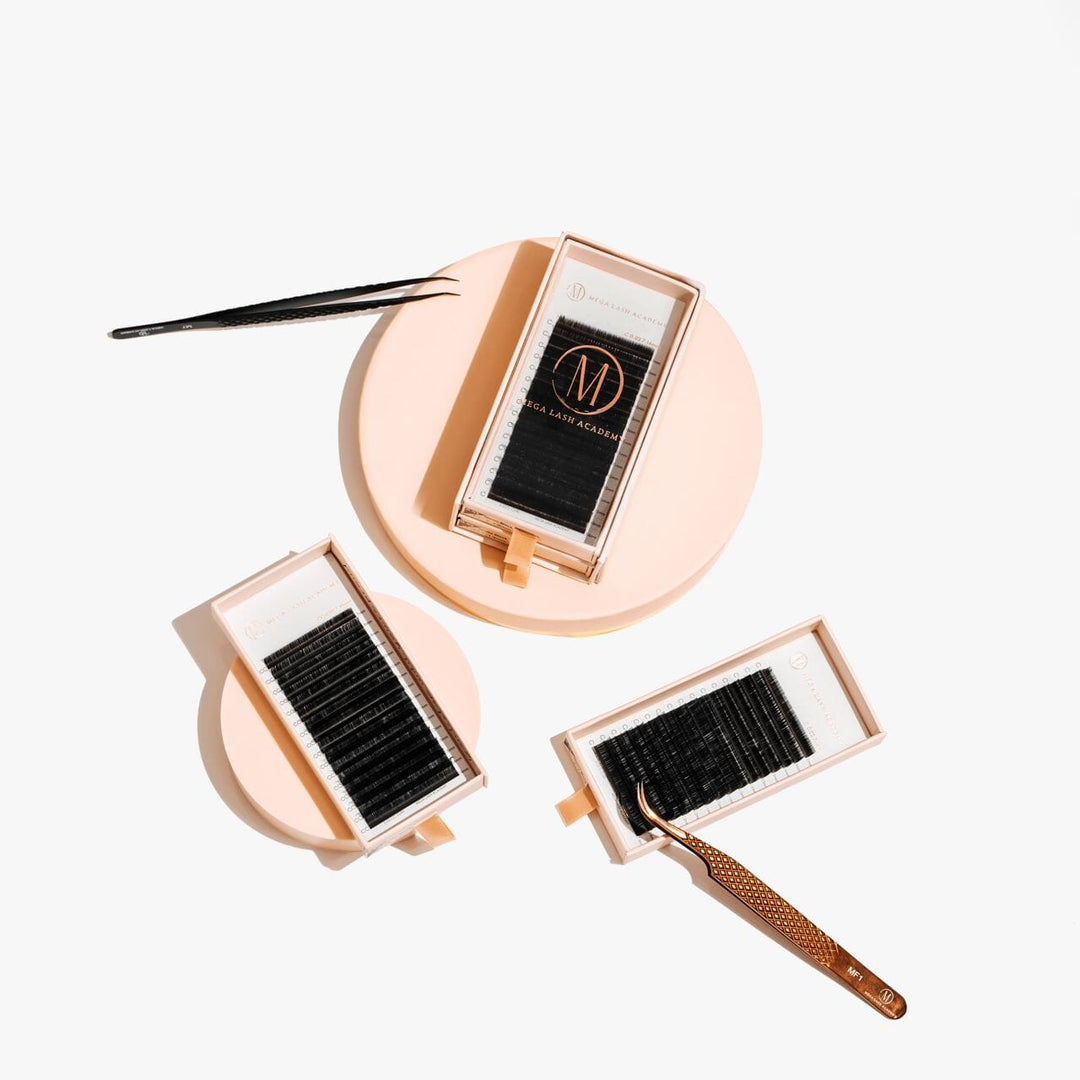
Using high-quality tweezers that are sharp and precise also helps. If your tools aren’t doing their job, it becomes much harder to isolate accurately.

Tip #3: Use Tape to Adjust the Lash Line
Lash tape isn’t just for securing the lower lashes, it’s a powerful tool for manipulating the upper lash line too.
When natural lashes overlap or crisscross, it becomes harder to isolate them cleanly. That’s where tape comes in. With a gentle lift of the lid or slight tension, you can create better visibility and separation.
How to use tape like a pro:
-
Cut a small strip (1–2 inches) of lash-safe tape, we love our Silicone Tape because it’s gentle on skin but strong enough to hold, no sticky residue on lashes either.
-
Place it on the upper eyelid and lightly lift or shift the skin to expose hidden lashes.
-
Use this to adjust angles, open tight lash lines, or shift stubborn lashes into better positions for isolation.
Tape gives you control and precision, two things that are essential for avoiding lashes gluing together. Just make sure you communicate with your client before using tape so they’re comfortable with the process.
Creating clean, separated, and secure lash extensions doesn’t just make your sets look better, it protects your client’s natural lashes and enhances their overall experience. No one wants itchy, pokey lashes or premature fall-out from poor application.
Taking the time to apply lashes with intention and precision builds trust and loyalty with your clients. They’ll feel the difference, and they’ll keep coming back.
So the next time you're setting up for a lash appointment, remember these tips. A few extra seconds of care can lead to a long-lasting, gorgeous set that your clients will love, and that you’ll be proud of.
Our collections
Rapid promade fans
Brown volume lashes
Velo fans
Cashmere lashes
Classic volume lashes
Closed fans
Read similar posts
Lash adhesive
Premade fans vs handmade